Life is Possible - 生命教育 手機程式工作坊
講課 05 - 使用 JavaScript 與 HTML 互動
目錄
- 在 HTML 中使用 JS
- DOM 控制
- 制作一個小小的測驗遊戲
回顧
我們在之前的課程中學到了什麼?
let a = 10;

if(a === 10){
  console.log("Hello mate")
}

function calculateAgeStatus(age){
    console.log(`You are in ${age} right?`)
}

calculateAgeStatus(16)
回顧總結
- 執行
app.js - 用
console.log輸出變量 - 資料型別
string,number,boolean - 算術運算符
++,*,/等等 - 賦值運算符
=,+=,*=,/=等等 - 定義變量
let,const,var - 條件語句
if,else - 比較語句
==,===,<=等等 - 函數
function add(a,b){ return a + b }
但是
如果 JavaScript 放在 HTML 中呢?
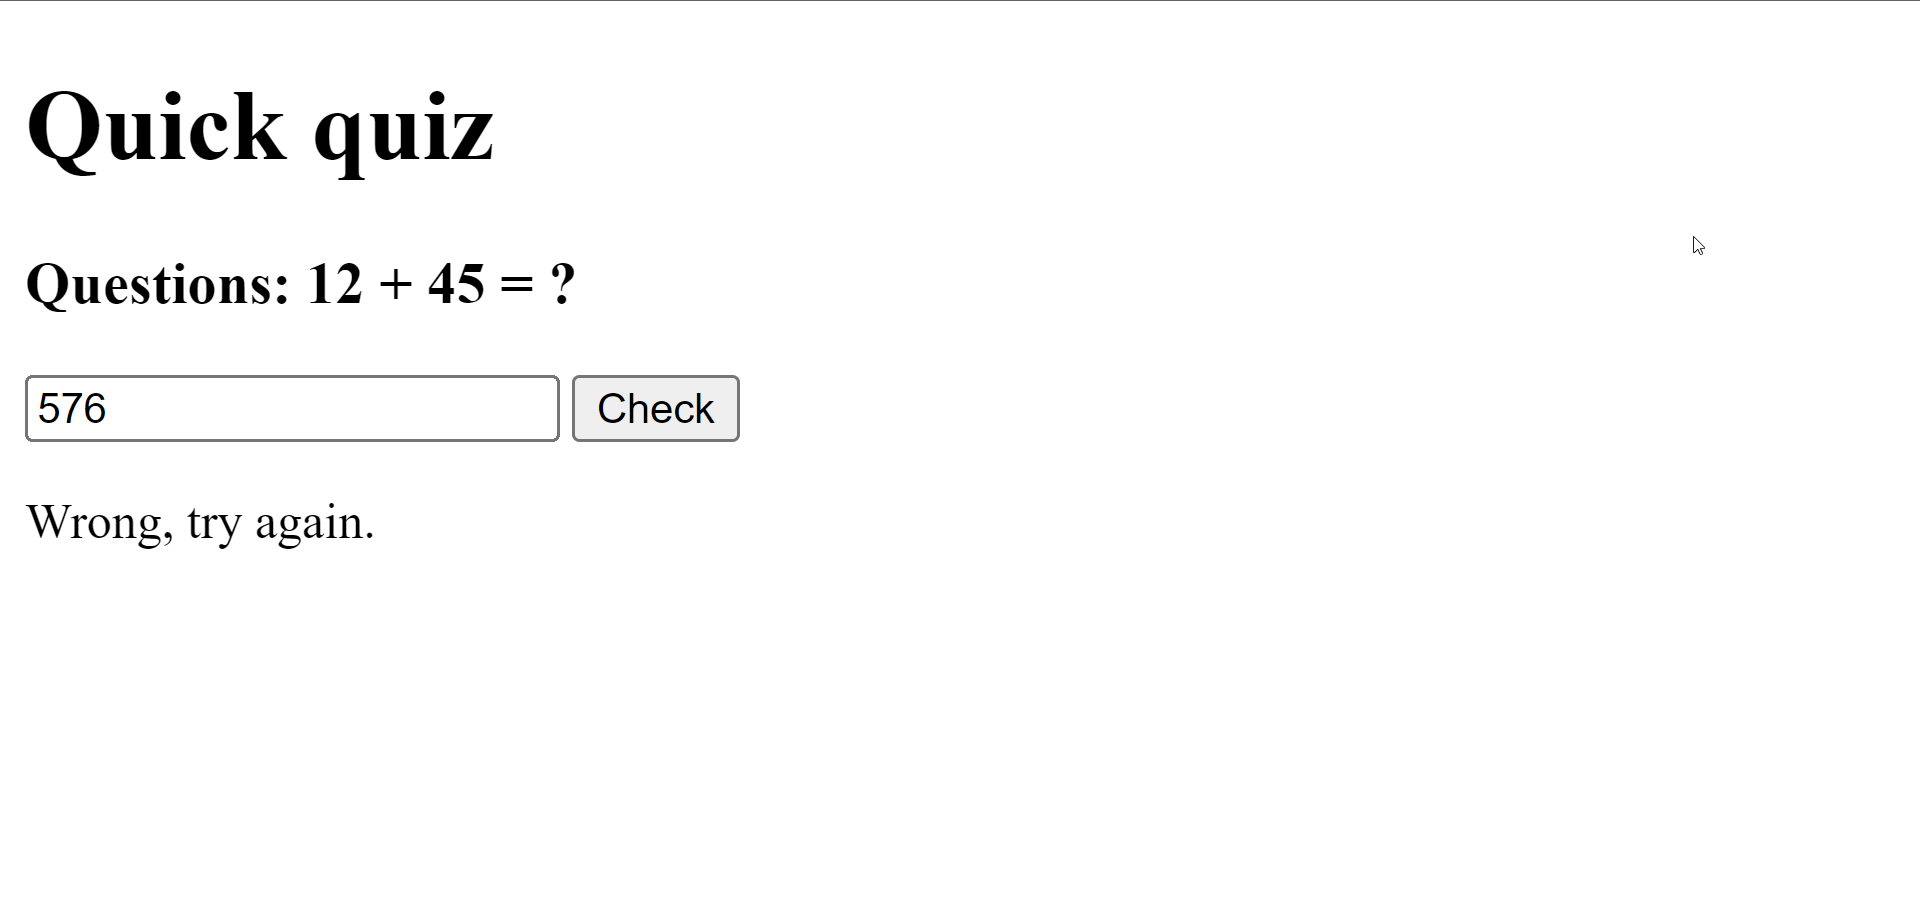
快速測試
我們有一個 HTML 文件作為快速小測驗,我們該如何知道使用者輸入了正確的答案?

使用 HTML ?
糟糕了,HTML 只用於定義元素。
使用 CSS ?
不行。CSS 只用於樣式。
使用 Javascript ?
對,但為什麼?
我們需要在 HTML 中使用 JavaScript
JavaScript 是 HTML 中的大腦,它幫助執行所有計算/邏輯渲染工作。
例如:是否有東西被點擊?計算使用者輸入的總和。
在 HTML 中加入 script
在 HTML 中,我們可以添加 <script> 標籤來使用 JavaScript。
<!DOCTYPE html>
<html lang="en">
<head>
    <title>Document</title>
</head>
<body>
    <h1> Yo all </h1>
    <script> <!-- Add me for using script -->
        console.log("Hello all")
    </script>
</body>
</html>
在 HTML 中加入 script
<script>
      let a = 100;
      let b = 23;

      let c = a + b;

      console.log(c); // where is it logged to?
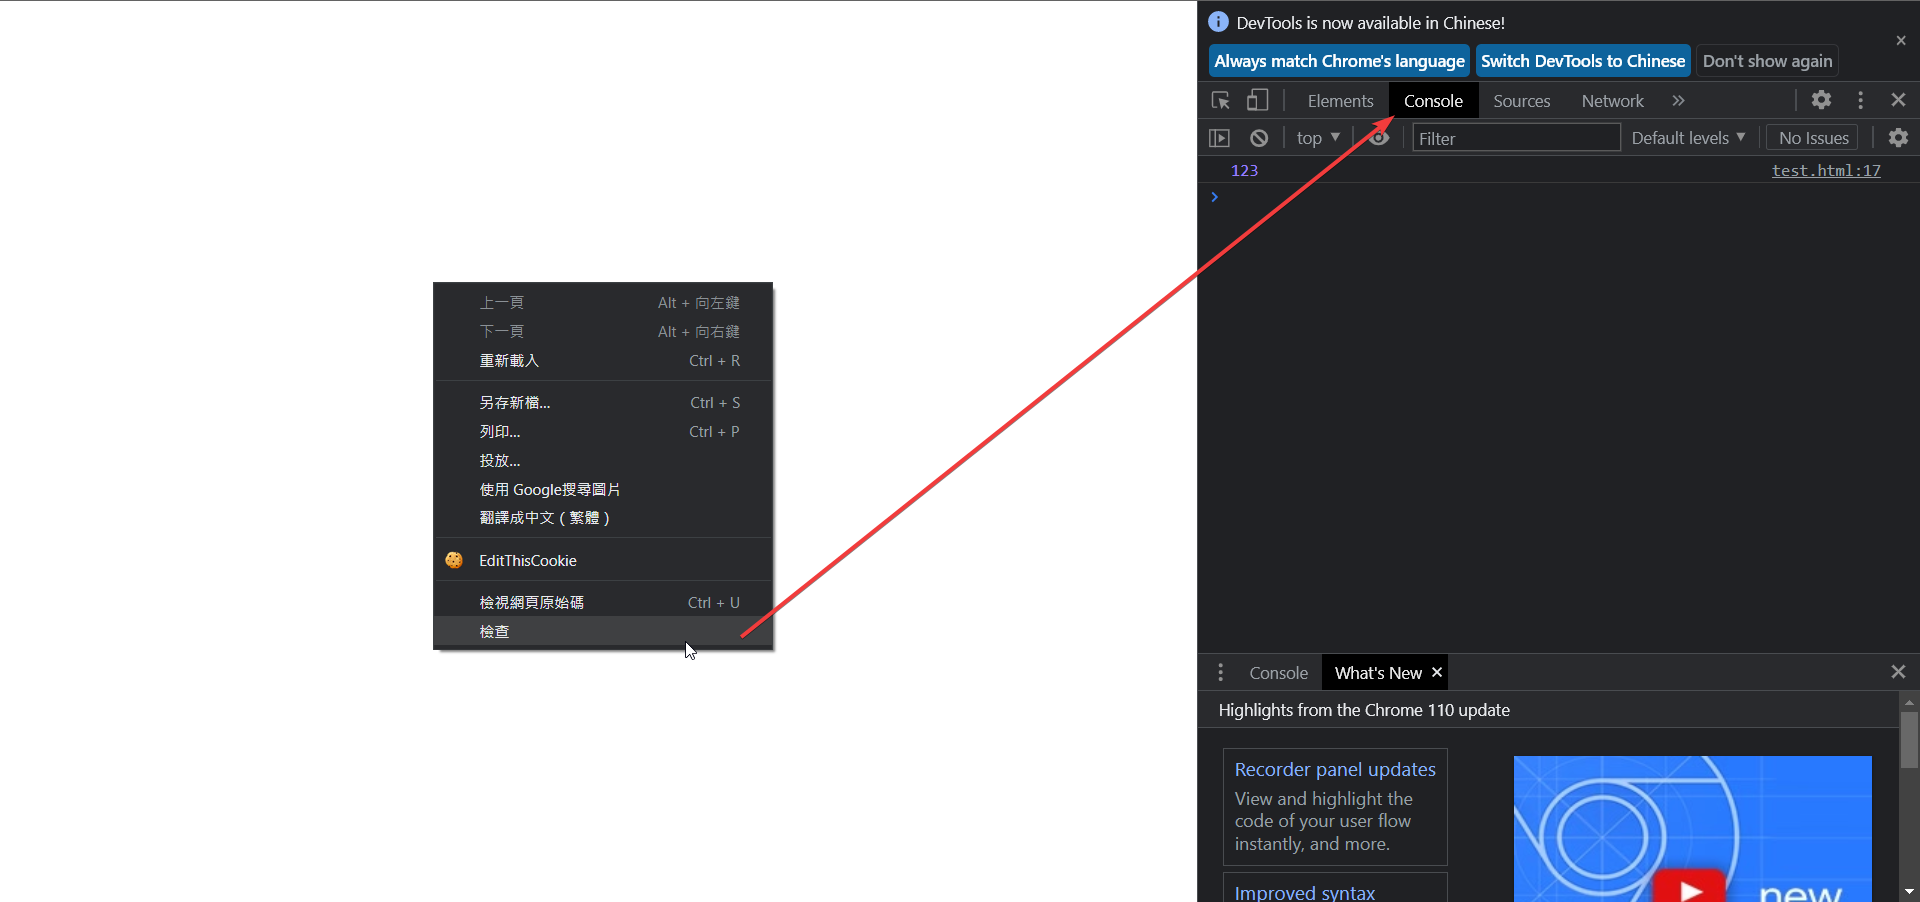
</script>在網頁中按下右鍵或按下 F12 開啟 DevTools ,然後在右上方尋找 Console。

使用 document.querySelector() 控制網頁元素
Web JS 的基本網頁元素控制
讓我們假設有以下的 HTML:
index.html
<!DOCTYPE html>
<html lang="en">
<head>
    <meta charset="UTF-8">
    <meta http-equiv="X-UA-Compatible" content="IE=edge">
    <meta name="viewport" content="width=device-width, initial-scale=1.0">
    <title>Document</title>
</head>
<body>
    <h3 id="msg">Hello mate</h3>
    <h3 class="yolo">yolo hi</h3>
</body>
</html>
取得 DOM 元素
一般來說,我們有以下兩個方法可以取得相對應的元素,兩個方法都是網頁內建的。
// getElementBy
const msgBox = document.getElementById('msg'); // Is a id
const yoloBox = document.getElementsByClassName("yolo"); // Is a array
// querySelector
const msgBoxQu = document.querySelector('##msg'); // Is a id
const yoloBoxQu = document.querySelector(".yolo"); // Not a array
// 因為 msg 是一個 id,所以我們需要加上 ##
// 因為 yolo 是一個 class,所以我們需要加上 .這些方法可以幫助我們取得相關的元素。
將互動加入到框框裡
一般來說,我們可以在 DOM 元素中加入事件:
const msgBox = document.getElementById('msg');

// When the msgBox box clicked, a message box will be pop up
msgBox.addEventListener("click", function() {
    alert("Hello mate")
});
index.html with const
<!DOCTYPE html>
<html lang="en">
<head>
    <meta charset="UTF-8">
    <meta http-equiv="X-UA-Compatible" content="IE=edge">
    <meta name="viewport" content="width=device-width, initial-scale=1.0">
    <title>Document</title>
</head>
<body>
    <h3 id="msg">Hello mate</h3>

    <script>
        const msgBox = document.getElementById('msg');

        // When the msgBox box clicked, a message box will be pop up
        msgBox.addEventListener("click", function() {
            alert("Hello mate")
        });
    </script>
</body>
</html>
index.html with document
<!DOCTYPE html>
<html lang="en">
<head>
    <meta charset="UTF-8">
    <meta http-equiv="X-UA-Compatible" content="IE=edge">
    <meta name="viewport" content="width=device-width, initial-scale=1.0">
    <title>Document</title>
</head>
<body>
    <h3 id="msg">Hello mate</h3>

    <script>
        // When the msgBox box clicked, a message box will be pop up
        document.getElementById('msg').addEventListener("click", function() {
            alert("Hello mate")
        });
    </script>
</body>
</html>
DOM值控制
您也可以通過 innerHTML 控制元素的消息。
index.html with const
<!DOCTYPE html>
<html lang="en">
<head>
    <meta charset="UTF-8">
    <meta http-equiv="X-UA-Compatible" content="IE=edge">
    <meta name="viewport" content="width=device-width, initial-scale=1.0">
    <title>Document</title>
</head>
<body>
    <h3 id="msg">Hello mate</h3>
    <h3 id="yolo">yolo hi</h3>

    <script>
        const msgBox = document.getElementById('msg');
        const yoloBox = document.getElementById('yolo');

        msgBox.addEventListener("click", function() {
            yoloBox.innerHTML = "hello ar"
        });
    </script>
</body>
</html>
index.html with document
<!DOCTYPE html>
<html lang="en">
<head>
    <meta charset="UTF-8">
    <meta http-equiv="X-UA-Compatible" content="IE=edge">
    <meta name="viewport" content="width=device-width, initial-scale=1.0">
    <title>Document</title>
</head>
<body>
    <h3 id="msg">Hello mate</h3>
    <h3 id="yolo">yolo hi</h3>

    <script>
        document.getElementById('msg').addEventListener("click", function() {
            document.getElementById('yolo').innerHTML = "hello ar"
        });
    </script>
</body>
</html>
更多 innerHTML 參考資料
counter.html
<body>
    <h3 id="counter">0</h3>
    <button id="addCount">add num</button>

    <script>
        const counterNumber = document.getElementById('counter');
        const addCount = document.getElementById('addCount');

        addCount.addEventListener("click", function() {
            let originalNUmber = parseInt(counterNumber.innerHTML)
            originalNUmber ++;

            counterNumber.innerHTML = originalNUmber
        });
    </script>
</body>
休息一下
控制輸入
在 HTML 中,我們有一個標籤 <input>,允許用戶輸入內容。
HTML 的
<input>元素用於創建交互式控件,以便接受用戶從網頁表單中輸入的數據。
https://developer.mozilla.org/en-US/docs/Web/HTML/Element/input
用 <input> 控制
<input> 標籤用於獲取用戶輸入的數據,並將其發送回服務器/本地進行檢查。
例如,我們可以像這樣使用 <input> 標籤:
<input id="textInput" type="text">
<input id="numberInput" type="number">
<input
    type="file" id="fileInput"
    id="avatar" name="avatar"
    accept="image/png, image/jpeg"
>
用 <input type="???"> 控制
支持以下類型:
text,number,datepassword,emailcheckbox,radiocolor,urlweek,month,time,datetime-local,datetel,rangesubmit,reset
以及更多…
取得 <input> 值
在 JavaScript 中要取得 <input> 的值,必須先給予它一個 id 或 class。
index.html
<input id="textInput" type="text" value="hello">接著,在 JavaScript 中,我們可以使用 .value 屬性來取得它的值。
index.js
const textInput = document.getElementById("textInput");
console.log(textInput.value);
當使用者輸入時取得 <input> 值
為了偵測使用者的輸入事件,我們可以使用 addEventListener 與 input 事件來聆聽輸入事件。
index.html
<input id="textInput" type="text">index.js
const textInput = document.getElementById("textInput");

textInput.addEventListener("input", () => {
    console.log(textInput.value)
})
當使用者輸入時取得多個 <input> 值
如果要取得多個不同的 <input>,必須為每個 <input> 元素分別指定不同的 id。
<input id="textInput" type="text">
<input id="englishInput" type="text">
index.js
const textInput = document.getElementById("textInput");
const englishInput = document.getElementById("englishInput");

textInput.addEventListener("input", () => {
    console.log(textInput.value)
})

englishInput.addEventListener("input", () => {
    console.log(englishInput.value)
})
休息一下
Lab 1: 數學測驗
撰寫一個數學測驗的網站,每次會產生不同的數學題目及答案,並依據使用者輸入來檢查答案是否正確。
範例:
- 這一次的題目是 10 + 23 = ?
- 其他時間的題目是 10 + 36 = ?
- 另一次的題目是 10 + 2 = ?
您可以參考 quiz.html 檔案進行實作。
提示 1: 使用 Math.floor(Math.random() * 30) 產生一個隨機整數。
Lab 1: 數學測驗提示
tips1.js
let rngNum = Math.floor( Math.random() * 30) + 1;tips2.html
<h3>Questions: 10 + <p id="rngNumberBox"></p> = ?</h3>Lab 1.1: 加強版數學測驗
如果您已經完成了練習 1,請嘗試調整題目為:
- 問題: 10 + x = 45,找出 x 的值
- 問題: 14 + x = 32,找出 x 的值
製作一個網站,要求使用者輸入 x,並檢查 x 是否符合方程式。答案也應該是隨機產生的。